


Document Actions
gvSIG-Desktop 1.10. User Manual
Adding a layer using the WCS protocol
Click on “Next” to start configuring the new WCS layer.
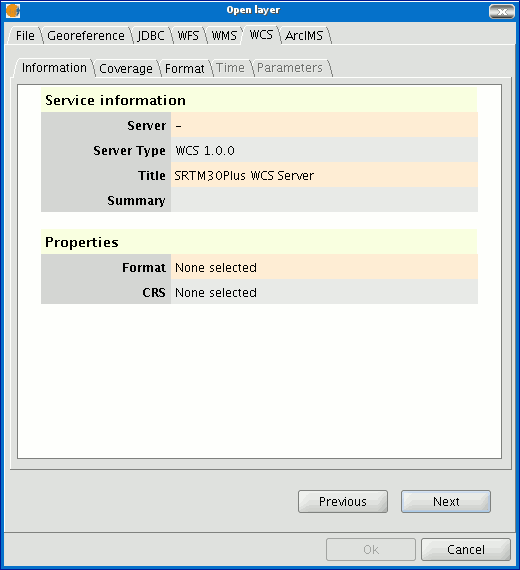
When you have accessed the service, a new group of tabs appears.
The first tab in the adding a WCS layer wizard is the information tab. It summarises the current configuration of the WCS request (service information, formats, spatial systems, layers which make up the request, etc.). This tab is updated as the properties of its request are changed, added or deleted.
Select the coverage you wish to add to your gvSIG view. If you wish, you can choose a name for your layer in the “Coverage name” field.

You can choose the image format you wish to use to make the request and reference system (SRS) in the “Format” tab.
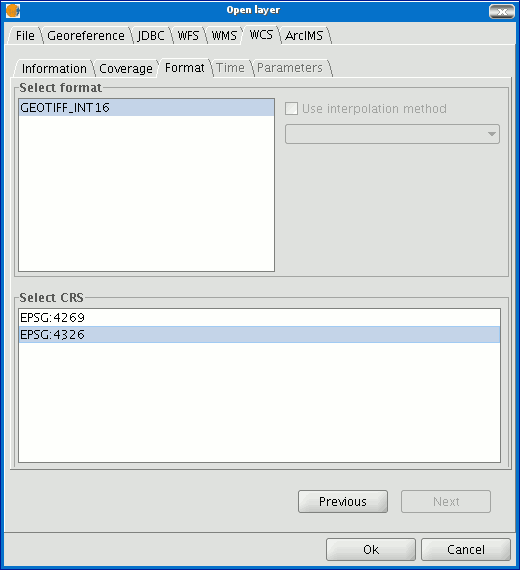
N.B. Tabs such as “Time” and “Parameters” are disabled in this case. Configuring these variables depends on the server chosen and the type of data it has access to.
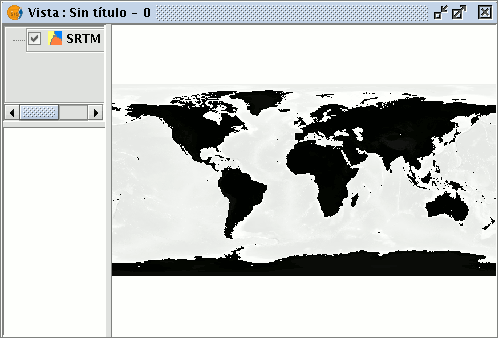
As soon as the configuration is sufficient to place the request, the “Ok” button is enabled. If you click on this button, the new WCS layer will be added to the gvSIG view.
Once the layer has been added its properties can be modified. To do so, go to the Table of contents in your gvSIG view and right click on the WCS layer you wish to modify. The contextual menu of layer operations appears. Select “WCS Properties”.
The “Config WCS layer” dialogue window appears. This is similar to the wizard for creating the WMS layer and can be used to modify your configurations.


